Joining Mainnet
Osmosis Installer
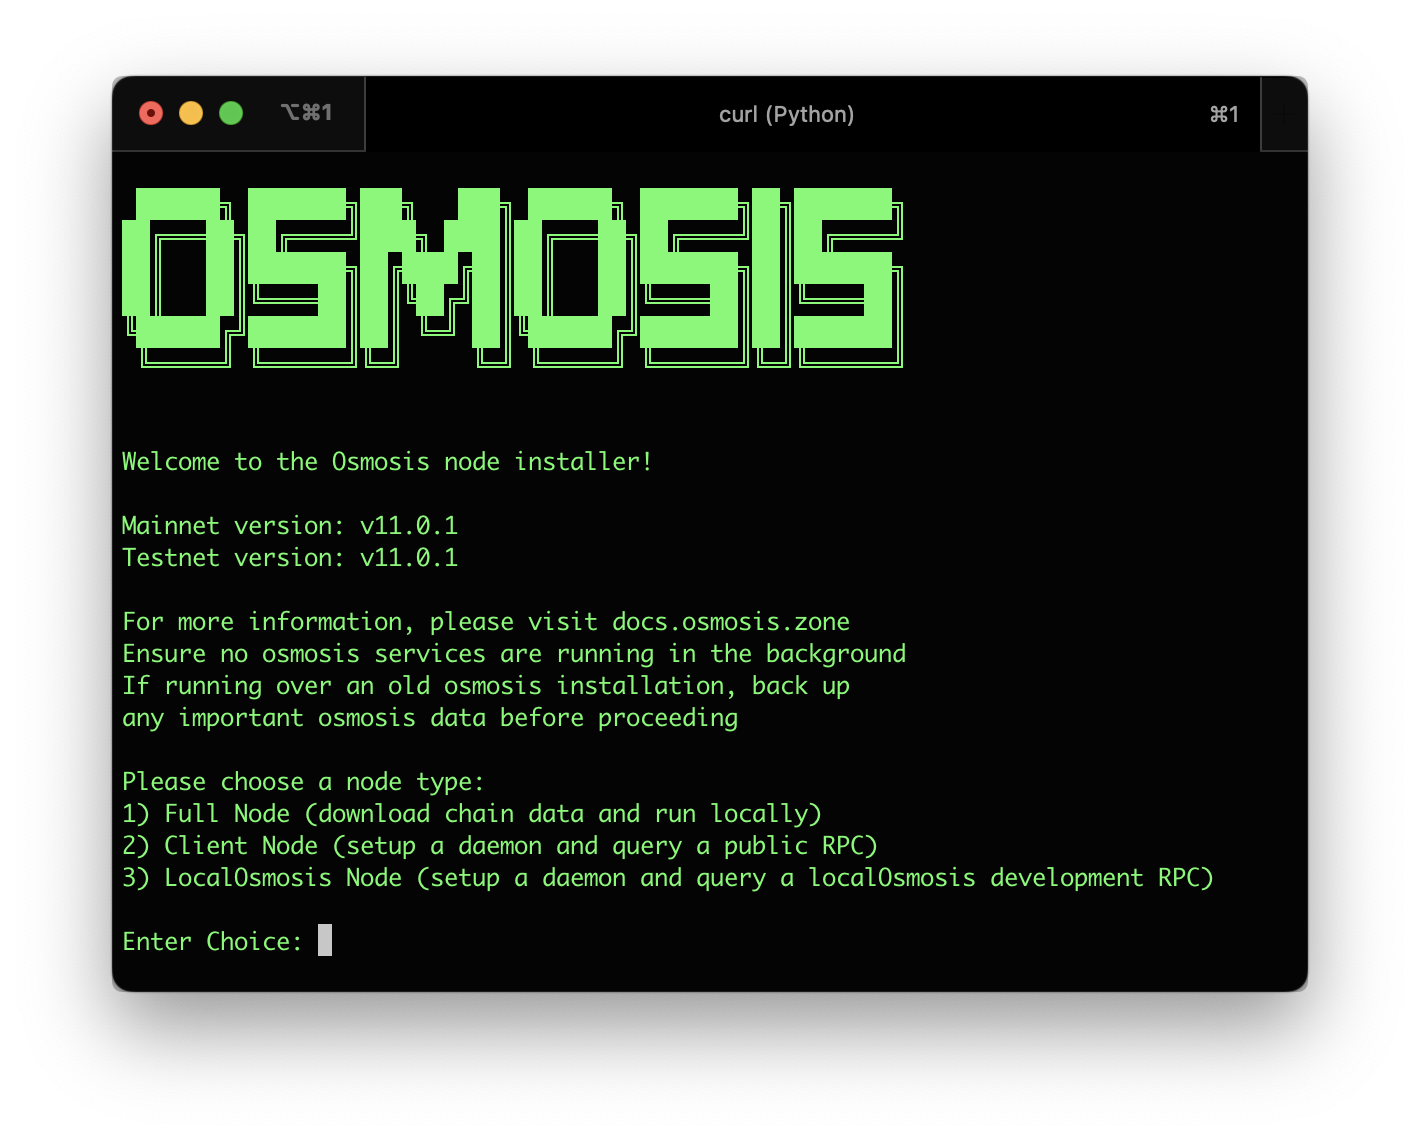
Join a network by using Osmosis Installer from https://get.osmosis.zone

Simply run:
curl -sL https://get.osmosis.zone/install > i.py && python3 i.py
Or Install Osmosis Binary manually
Make sure you have installed the Osmosis Binary CLI prior to following the below instructions.
Initialize Osmosis Node
Use osmosisd to initialize your node (replace the NODE_NAME with a name of your choosing):
osmosisd init NODE_NAME
Download and place the genesis file in the osmosis config folder:
wget -O ~/.osmosisd/config/genesis.json https://github.com/osmosis-labs/networks/raw/main/osmosis-1/genesis.json
Latest Version (V10) Upgrade Info
Go Requirement
You will need to be running go1.18 for this version of Osmosis. You can check if you are running go1.18 with the following command:
go version
If this does not say go1.18, you need to upgrade/downgrade. One of the many ways to upgrade/downgrade to/from go 1.18 on linux is as follows:
wget -q -O - https://git.io/vQhTU | bash -s -- --remove
wget -q -O - https://git.io/vQhTU | bash -s -- --version 1.18
Memory Requirements
As always, we recommend having 64GB of memory.
Set Up Cosmovisor
Set up cosmovisor to ensure any future upgrades happen flawlessly. To install Cosmovisor:
go install cosmossdk.io/tools/cosmovisor/cmd/cosmovisor@latest
(You may also refer to the Cosmovisor installation instructions.)
Create the required directories:
mkdir -p ~/.osmosisd/cosmovisor
mkdir -p ~/.osmosisd/cosmovisor/genesis
mkdir -p ~/.osmosisd/cosmovisor/genesis/bin
mkdir -p ~/.osmosisd/cosmovisor/upgrades
Set the environment variables:
echo "# Setup Cosmovisor" >> ~/.profile
echo "export DAEMON_NAME=osmosisd" >> ~/.profile
echo "export DAEMON_HOME=$HOME/.osmosisd" >> ~/.profile
echo "export DAEMON_ALLOW_DOWNLOAD_BINARIES=false" >> ~/.profile
echo "export DAEMON_LOG_BUFFER_SIZE=512" >> ~/.profile
echo "export DAEMON_RESTART_AFTER_UPGRADE=true" >> ~/.profile
echo "export UNSAFE_SKIP_BACKUP=true" >> ~/.profile
source ~/.profile
You may leave out UNSAFE_SKIP_BACKUP=true, however the backup takes a decent amount of time and public snapshots of old states are available.
Copy the current osmosisd binary into the cosmovisor/genesis folder:
cp $GOPATH/bin/osmosisd ~/.osmosisd/cosmovisor/genesis/bin
To check your work, ensure the version of cosmovisor and osmosisd are the same:
cosmovisor version
osmosisd version
Download Chain Data
Download the latest chain data from a snapshot provider. In the following commands, I will use https://quicksync.io/networks/osmosis.html to download the chain data. You may choose the default, pruned, or archive based on your needs.
Download liblz4-tool to handle the compressed file:
sudo apt-get install wget liblz4-tool aria2 -y
Download the chain data:
- Select the tab to the desired node type (Default, Pruned, or Archive)
- Select the tab to the region closest to you (Netherlands, Singapore, or San Francisco) and copy the commands
Default
- Netherlands
- Singapore
- San Francisco
URL=`curl https://quicksync.io/osmosis.json|jq -r '.[] |select(.file=="osmosis-1-default")|select (.mirror=="Netherlands")|.url'`
cd $HOME/.osmosisd/
wget -O - $URL | lz4 -d | tar -xvf -
URL=`curl https://quicksync.io/osmosis.json|jq -r '.[] |select(.file=="osmosis-1-default")|select (.mirror=="Singapore")|.url'`
cd $HOME/.osmosisd/
wget -O - $URL | lz4 -d | tar -xvf -
URL=`curl https://quicksync.io/osmosis.json|jq -r '.[] |select(.file=="osmosis-1-default")|select (.mirror=="SanFrancisco")|.url'`
cd $HOME/.osmosisd/
wget -O - $URL | lz4 -d | tar -xvf -
Pruned
- Netherlands
- Singapore
- San Francisco
URL=`curl https://quicksync.io/osmosis.json|jq -r '.[] |select(.file=="osmosis-1-pruned")|select (.mirror=="Netherlands")|.url'`
cd $HOME/.osmosisd/
wget -O - $URL | lz4 -d | tar -xvf -
URL=`curl https://quicksync.io/osmosis.json|jq -r '.[] |select(.file=="osmosis-1-pruned")|select (.mirror=="Singapore")|.url'`
cd $HOME/.osmosisd/
wget -O - $URL | lz4 -d | tar -xvf -
URL=`curl https://quicksync.io/osmosis.json|jq -r '.[] |select(.file=="osmosis-1-pruned")|select (.mirror=="SanFrancisco")|.url'`
cd $HOME/.osmosisd/
wget -O - $URL | lz4 -d | tar -xvf -
Archive
- Netherlands
URL=`curl https://quicksync.io/osmosis.json|jq -r '.[] |select(.file=="osmosis-1-archive")|select (.mirror=="Netherlands")|.url'`
cd $HOME/.osmosisd/
wget -O - $URL | lz4 -d | tar -xvf -
Set Up Osmosis Service
Set up a service to allow cosmovisor to run in the background as well as restart automatically if it runs into any problems:
echo "[Unit]
Description=Cosmovisor daemon
After=network-online.target
[Service]
Environment="DAEMON_NAME=osmosisd"
Environment="DAEMON_HOME=${HOME}/.osmosisd"
Environment="DAEMON_RESTART_AFTER_UPGRADE=true"
Environment="DAEMON_ALLOW_DOWNLOAD_BINARIES=false"
Environment="DAEMON_LOG_BUFFER_SIZE=512"
Environment="UNSAFE_SKIP_BACKUP=true"
User=$USER
ExecStart=${HOME}/go/bin/cosmovisor run start
Restart=always
RestartSec=3
LimitNOFILE=infinity
LimitNPROC=infinity
[Install]
WantedBy=multi-user.target
" >cosmovisor.service
Move this new file to the systemd directory:
sudo mv cosmovisor.service /etc/systemd/system/cosmovisor.service
Previously, this documentation suggested to move the systemd unit file to:
/lib/systemd/system/cosmovisor.service
If dealing with a server that may have followed older instructions, you may consider looking there.
Start Osmosis Service
Reload and start the service:
sudo systemctl daemon-reload
sudo systemctl restart systemd-journald
sudo systemctl start cosmovisor
Check the status of the service:
sudo systemctl status cosmovisor
To see live logs of the service:
journalctl -u cosmovisor -f
Update Cosmovisor to V10
If you want osmosisd to upgrade automatically from V9 to V10, do the following steps prior to the upgrade height (4713065):
mkdir -p ~/.osmosisd/cosmovisor/upgrades/v9/bin
cd $HOME/osmosis
git pull
git checkout v10.0.0
make build
cp build/osmosisd ~/.osmosisd/cosmovisor/upgrades/v9/bin